
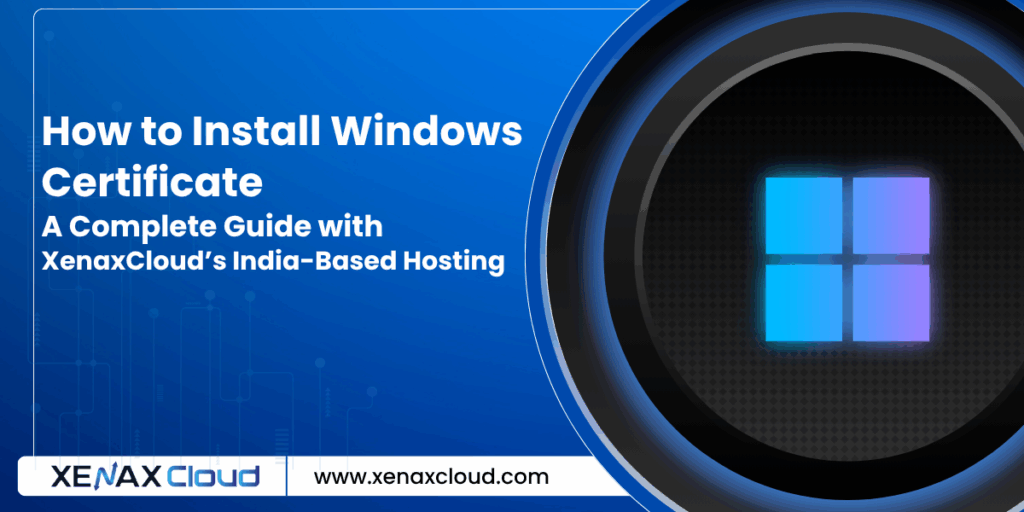
In today’s digital world, securing your website is non-negotiable. Whether you’re running a small blog or a large e-commerce platform, installing an SSL certificate is critical for protecting user data and building trust. For businesses using Windows servers, learning how to install Windows certificate is a key step. XenaxCloud, with its India-based data center, offers secure, fast, and compliant hosting solutions like Shared Hosting, VPS, Indian RDP, Dedicated Servers, Domains, and Reseller Hosting. This guide will walk you through how to install SSL certificate Windows, explain why XenaxCloud is the best choice for Indian businesses, and highlight the benefits of India-based hosting.
What Is an SSL Certificate and Why Do You Need It?
An SSL certificate (Secure Sockets Layer) encrypts data transmitted between your server and users, ensuring sensitive information like passwords and payment details stays secure. For websites hosted on Windows servers, an IIS cert (Internet Information Services certificate) is used to enable HTTPS, displaying a padlock in browsers and boosting user trust. Beyond security, SSL certificates improve SEO rankings, as search engines like Google prioritize secure websites.
With XenaxCloud, you get free SSL certificates with all hosting plans, making it easy to secure your site without extra costs. Whether you choose Shared Hosting for a small blog or Dedicated Servers for a high-traffic platform, XenaxCloud ensures your website is secure and compliant with India’s data protection laws.
Why Choose XenaxCloud for Windows Hosting?
XenaxCloud stands out as a top hosting provider for Indian businesses due to its India-based data center, which offers several advantages:
- Low Latency: Faster load times for Indian users, improving user experience and SEO.
- Data Compliance: Adheres to India’s data protection regulations, ensuring legal compliance.
- Local Support: 24/7 customer support in Hindi, English, and other Indian languages.
- Scalability: From Shared Hosting to Dedicated Servers, XenaxCloud caters to businesses of all sizes.
XenaxCloud’s hosting solutions include:
- Shared Hosting: Budget-friendly for startups and blogs, with 99.5% uptime, free SSL certificates, and cPanel for easy management.
- VPS: Scalable resources with root access for custom setups, ideal for growing businesses.
- Indian RDP: Secure remote server management, perfect for developers.
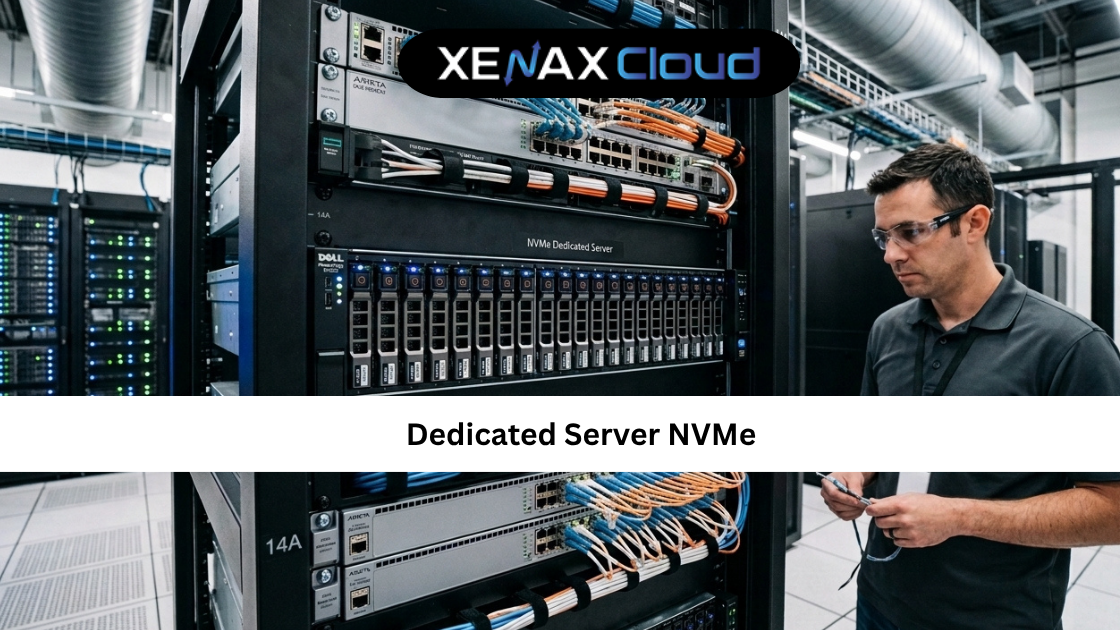
- Dedicated Servers: Exclusive resources for high-traffic websites and enterprise applications.
- Domains: Affordable .in domains for local appeal and SEO benefits.
- Reseller Hosting: Start your own hosting business with white-label branding and robust support.
How to Install Windows Certificate: Step-by-Step Guide
Learning how to install Windows certificate is straightforward with XenaxCloud’s hosting solutions. Below is a detailed guide to install SSL certificate Windows using IIS Manager for an IIS cert.
Step 1: Generate a Certificate Signing Request (CSR)
- Open IIS Manager: On your Windows server, launch Internet Information Services (IIS) Manager.
- Select Your Server: In the Connections pane, select your server name.
- Access Server Certificates: Double-click the Server Certificates icon in the main pane.
- Create a CSR: Click Create Certificate Request in the Actions pane. Enter details like your domain name (e.g., www.xenaxcloud.com), organization, and location.
- Save the CSR: Save the generated CSR file to your computer. You’ll need this to request an SSL certificate.
Step 2: Order Your SSL Certificate
With XenaxCloud, you don’t need to purchase an SSL certificate separately—free SSL certificates are included with all hosting plans, including Shared Hosting and VPS. Simply:
- Log into your XenaxCloud account.
- Navigate to the SSL section in your control panel (e.g., cPanel for Shared Hosting).
- Request the free SSL certificate using the CSR generated in Step 1.
- XenaxCloud will provide the certificate files, including the .crt file and any intermediate certificates.
Step 3: Install the SSL Certificate in IIS
- Return to IIS Manager: Go back to the Server Certificates section.
- Complete the Certificate Request: Click Complete Certificate Request in the Actions pane.
- Import the Certificate: Select the .crt file provided by XenaxCloud, enter a friendly name for the certificate, and choose the Personal certificate store.
- Bind the Certificate: In IIS Manager, select your website, click Bindings, and choose https. Select the installed IIS cert and save.
Step 4: Test the SSL Installation
- Open your website in a browser (e.g., https://yourdomain.com).
- Verify the padlock icon appears, indicating a secure connection.
- Use an SSL checker tool to ensure the certificate is installed correctly and there are no errors.
If you encounter issues, XenaxCloud’s 24/7 support team is available to assist via chat, email, or phone in multiple Indian languages.
Step 5: Configure Auto-Renewal
XenaxCloud’s free SSL certificates often come with auto-renewal features. Ensure this is enabled in your control panel to avoid certificate expiration and maintain uninterrupted security.
Why Use Windows Hosting for SSL Certificates?
Windows hosting, particularly with IIS, is popular for businesses running Microsoft-based applications like ASP.NET or MSSQL databases. Installing an IIS cert ensures compatibility with these environments, and XenaxCloud’s Windows-compatible plans (available with VPS and Dedicated Servers) make the process seamless. The India-based data center ensures low-latency access for Indian users, critical for e-commerce and service-based websites.
Additional Security Tips for Your Website
Beyond how to install Windows certificate, here are some tips to enhance your website’s security with XenaxCloud:
- Enable Firewalls: XenaxCloud’s hosting plans include robust firewalls to protect against cyber threats.
- Regular Backups: Use XenaxCloud’s backup solutions to safeguard your data.
- Strong Passwords: Secure your Indian RDP and hosting control panel with unique passwords.
- Update Software: Keep your server’s software and applications up to date to avoid vulnerabilities.
- Monitor Performance: Use XenaxCloud’s tools to track website performance and uptime.
XenaxCloud’s Hosting Solutions: Tailored for India
XenaxCloud’s India-based data center makes it the ideal choice for Indian businesses. Here’s how each service caters to different needs:
Shared Hosting
Perfect for small websites and blogs, Shared Hosting is budget-friendly and includes:
- 99.5% Uptime: Ensures your site is always online.
- Free SSL Certificates: Secure your site without extra costs.
- cPanel Access: Easy management for non-technical users.
VPS Hosting
For growing businesses, VPS offers:
- Scalable Resources: Adjust CPU, RAM, and storage as needed.
- Root Access: Full control for custom Windows or Linux setups.
- Low Latency: India-based servers for fast load times.
Indian RDP
Indian RDP provides secure remote server management:
- Seamless Connectivity: Access servers from anywhere in India.
- Strong Security: Protects your data and configurations.
- Affordable Plans: Ideal for developers and IT teams.
Dedicated Servers
For high-traffic websites, Dedicated Servers offer:
- Exclusive Resources: Handle heavy workloads with ease.
- Custom Configurations: Optimize for Windows or Linux environments.
- India-Based Access: Fast performance for local users.
Domain Registration
A professional domain from Domains enhances credibility:
- Competitive Pricing: Affordable .in and .com domains.
- Easy DNS Management: Simplifies hosting setup.
- Local Appeal: .in domains boost SEO for Indian audiences.
Reseller Hosting
Start your own hosting business with Reseller Hosting:
- White-Label Branding: Offer services under your brand.
- Scalable Resources: Support multiple clients.
- 24/7 Support: XenaxCloud handles technical issues for you.
Benefits of India-Based Hosting with XenaxCloud
Choosing XenaxCloud’s India-based data center offers unmatched advantages:
- Low Latency: Faster load times for Indian users, improving UX and SEO rankings.
- Data Compliance: Adheres to India’s data protection laws, crucial for businesses handling sensitive data.
- Local Support: 24/7 assistance in Hindi, English, and other Indian languages.
- Scalability: From startups to enterprises, XenaxCloud’s solutions grow with your business.
FAQs
- What is an SSL certificate and why is it important?
An SSL certificate encrypts data between your server and users, ensuring security. It’s critical for user trust and SEO, and XenaxCloud provides free SSL certificates with all plans. - How to install Windows certificate on XenaxCloud’s hosting?
Generate a CSR in IIS Manager, request a free SSL certificate via XenaxCloud’s control panel, import the IIS cert, and bind it to your site. Test the installation in a browser. - Does XenaxCloud support Windows hosting for IIS cert installation?
Yes, XenaxCloud’s VPS and Dedicated Servers support Windows hosting, making it easy to install SSL certificate Windows. - Why choose XenaxCloud’s India-based hosting?
XenaxCloud’s India-based data center ensures low latency, data compliance, and 24/7 local support, ideal for Indian businesses. - Can I host multiple websites with XenaxCloud?
Yes, VPS and Reseller Hosting offer scalable resources for hosting multiple websites.
Conclusion
Learning how to install Windows certificate is essential for securing your website and building user trust. With XenaxCloud, you get free SSL certificates, India-based servers, and a range of hosting solutions—Shared Hosting, VPS, Indian RDP, Dedicated Servers, Domains, and Reseller Hosting. These services ensure low latency, data compliance, and 24/7 local support, making XenaxCloud the best choice for Indian businesses. Explore XenaxCloud’s offerings today at XenaxCloud.com and take your website security to the next level!