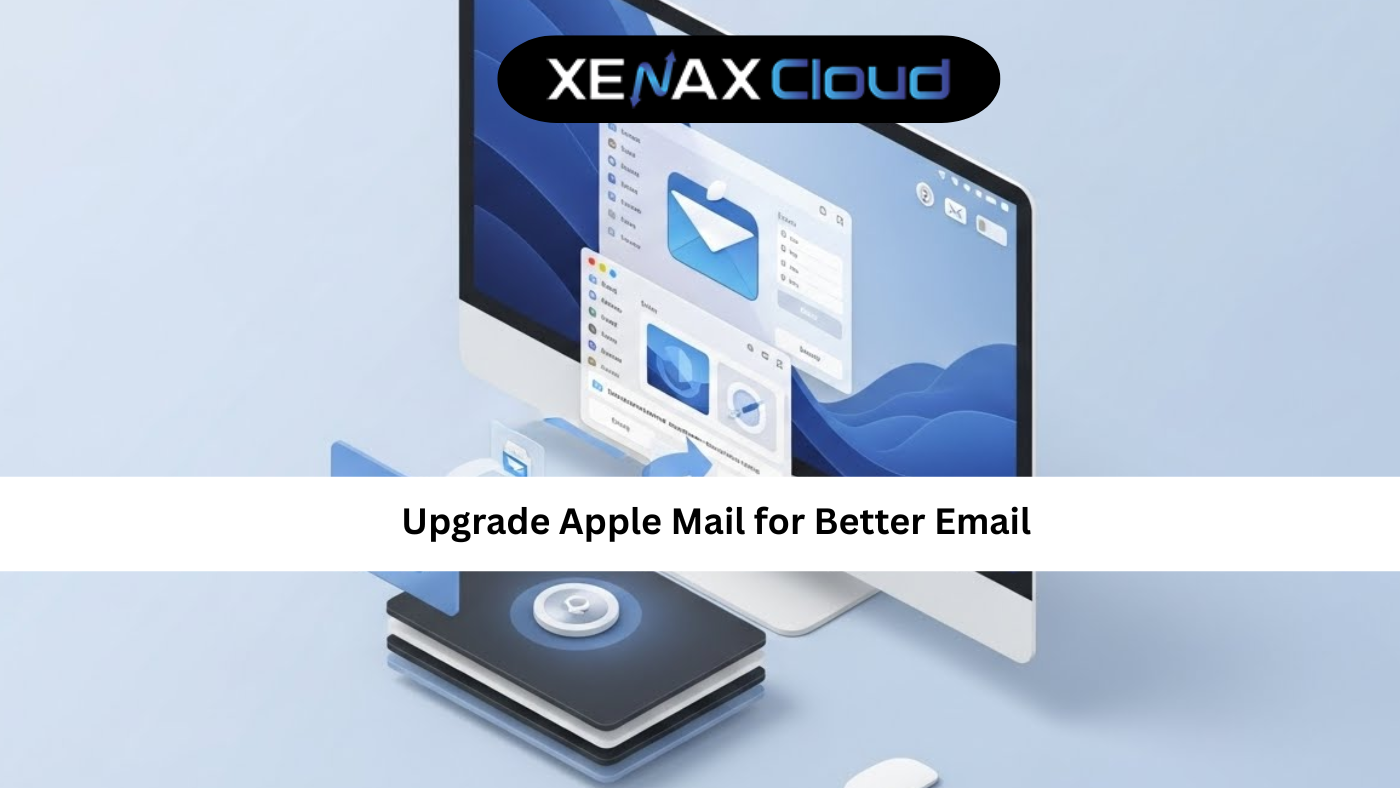

Creating a professional email signature enhances your brand’s credibility, and knowing how to add signature webmail is a key skill for businesses. Whether you’re setting up an email signature setup or following a webmail signature guide, XenaxCloud makes it seamless with its India-based data center. Offering services like Shared Hosting, VPS Server, Indian RDP, Dedicated Servers, Domains, and Reseller Hosting, XenaxCloud provides user-friendly tools for email management. This comprehensive guide explains how to add signature webmail using XenaxCloud’s Shared Hosting, ideal for web hosting India with a 99.5% uptime guarantee.
Why Add a Signature to Webmail?
An email signature is a digital business card, adding professionalism and consistency to your communications. Benefits of email signature setup include:
- Branding: Promote your business with logos and contact details.
- Professionalism: Build trust with polished signatures.
- Marketing: Include links to your website or social media.
- Consistency: Standardize signatures across teams.
XenaxCloud’s Shared Hosting simplifies add signature webmail through cPanel.
Understanding Webmail and Email Signatures
Webmail is a browser-based email client, like Roundcube or Horde, accessible via cPanel on XenaxCloud’s Shared Hosting. An email signature is a customizable block of text or HTML added to outgoing emails. Key features include:
- Text-Based Signatures: Name, title, and contact info.
- HTML Signatures: Include images, links, or logos.
- Automation: Apply signatures to all emails via webmail settings.
XenaxCloud’s cPanel makes webmail signature guide tasks straightforward.
How to Add Signature Webmail with XenaxCloud
Follow these steps to add signature webmail and complete email signature setup using XenaxCloud’s Shared Hosting or VPS Server.
Step 1: Choose a Hosting Plan
XenaxCloud’s Shared Hosting is ideal for email management, offering cPanel with webmail access. For advanced control, VPS Server allows custom email server setups. Both support web hosting India with robust email features.
Step 2: Register a Domain
- Select a Domain: Choose a .in domain via Domains for local branding and SEO.
- Configure DNS: Point to XenaxCloud’s name servers or server IP.
- Verify Resolution: Ensure your domain connects to your Shared Hosting account.
Step 3: Set Up Email Accounts in cPanel
- Access cPanel:
- Log in to cPanel via Shared Hosting.
- Create Email Account:
- Navigate to Email > Email Accounts.
- Click Create and enter details (e.g.,
info@yourdomain.com). - Set a strong password and click Create.
- Access Webmail:
- Go to Email > Email Accounts, click Access Webmail, and choose Roundcube or Horde.
Step 4: Add Signature Webmail in Roundcube
- Log in to Roundcube:
- In cPanel, select Roundcube from the Webmail interface.
- Navigate to Settings:
- Click Settings > Identities.
- Select your email address (e.g.,
info@yourdomain.com).
- Add Signature:
- In the Signature tab, enter your signature text (e.g., Name, Title, Phone, Website).
- For HTML signatures, enable HTML signature and paste:
<p><strong>John Doe</strong><br> Marketing Manager, YourCompany<br> Phone: +91-123-456-7890<br> Website: <a href="https://yourdomain.com">yourdomain.com</a></p>
- Save Changes:
- Click Save and test by sending an email.
Step 5: Add Signature Webmail in Horde
- Log in to Horde:
- In cPanel, select Horde from the Webmail interface.
- Navigate to Settings:
- Click Preferences > Mail > Personal Information.
- Select your email address.
- Add Signature:
- Enter text or HTML in the Signature field:
<p><strong>Jane Smith</strong><br> CEO, YourCompany<br> Email: jane@yourdomain.com<br> <a href="https://yourdomain.com">Visit Our Website</a></p>
- Enter text or HTML in the Signature field:
- Save Changes:
- Click Save and verify the signature in a test email.
Step 6: Set Up Email on VPS (Advanced Option)
For custom email servers on VPS Server:
- Choose an OS: Select Ubuntu.
- Access VPS:
- Use Indian RDP for GUI access or SSH:
ssh user@your-vps-ip
- Use Indian RDP for GUI access or SSH:
- Install Postfix and Dovecot:
- Update system:
sudo apt update && sudo apt upgrade -y - Install Postfix (SMTP server):
sudo apt install postfix -y- Select Internet Site during setup and enter your domain.
- Install Dovecot (IMAP/POP3 server):
sudo apt install dovecot-core dovecot-imapd -y
- Update system:
- Configure Postfix:
- Edit
/etc/postfix/main.cf:sudo nano /etc/postfix/main.cf- Add or modify:
myhostname = yourdomain.com mydomain = yourdomain.com mydestination = $myhostname, localhost.$mydomain, $mydomain mynetworks = 127.0.0.0/8 inet_interfaces = all - Restart Postfix:
sudo systemctl restart postfix
- Edit
- Configure Dovecot:
- Edit
/etc/dovecot/conf.d/10-mail.conf:sudo nano /etc/dovecot/conf.d/10-mail.conf- Set:
mail_location = maildir:/var/mail/%u - Restart Dovecot:
sudo systemctl restart dovecot
- Edit
- Add Email User:
- Create a system user:
sudo adduser --shell /bin/bash emailuser
- Create a system user:
- Install Roundcube:
- Install dependencies:
sudo apt install nginx php-fpm php-mysql php-mbstring php-xml php-imap -y - Download Roundcube:
cd /var/www sudo wget https://github.com/roundcube/roundcubemail/releases/download/1.6.7/roundcubemail-1.6.7-complete.tar.gz sudo tar -xzf roundcubemail-1.6.7-complete.tar.gz sudo mv roundcubemail-1.6.7 roundcube sudo chown -R www-data:www-data roundcube - Configure Nginx for Roundcube:
server { listen 80; server_name mail.yourdomain.com; root /var/www/roundcube; index index.php; location ~ \.php$ { include snippets/fastcgi-php.conf; fastcgi_pass unix:/var/run/php/php8.1-fpm.sock; fastcgi_param SCRIPT_FILENAME $document_root$fastcgi_script_name; include fastcgi_params; } } - Enable and reload:
sudo ln -s /etc/nginx/sites-available/roundcube /etc/nginx/sites-enabled/ sudo nginx -t sudo systemctl reload nginx
- Install dependencies:
- Set Up Database:
- Install MySQL:
sudo apt install mysql-server -y sudo mysql_secure_installation - Create database:
sudo mysql CREATE DATABASE roundcube; CREATE USER 'roundcube_user'@'localhost' IDENTIFIED BY 'securepassword'; GRANT ALL PRIVILEGES ON roundcube.* TO 'roundcube_user'@'localhost'; FLUSH PRIVILEGES; EXIT;
- Install MySQL:
- Complete Roundcube Setup:
- Access
mail.yourdomain.com/installerin a browser. - Follow prompts to configure database and email settings.
- Remove installer directory:
sudo rm -rf /var/www/roundcube/installer
- Access
- Add Signature in Roundcube:
- Log in to
mail.yourdomain.com. - Follow Step 4 to add signature webmail.
- Log in to
Step 7: Enable SSL for Secure Email
- Enable Free SSL in cPanel:
- In Shared Hosting, go to Security > SSL/TLS.
- Install Let’s Encrypt SSL for your domain.
- For VPS:
- Install Certbot:
sudo apt install certbot python3-certbot-nginx -y - Obtain SSL:
sudo certbot --nginx -d mail.yourdomain.com
- Install Certbot:
- Verify HTTPS:
- Access webmail via
https://mail.yourdomain.com.
- Access webmail via
Step 8: Secure Your Email Setup
- Enable Two-Factor Authentication (2FA) in cPanel:
- Go to Security > Two-Factor Authentication.
- Scan the QR code with an authenticator app.
- Secure VPS Email:
- Configure SPF and DKIM:
- In cPanel, use Email > Email Authentication to set up SPF and DKIM.
- For VPS, add DNS records:
TXT yourdomain.com "v=spf1 a mx ip4:your-vps-ip ~all" TXT _dmarc.yourdomain.com "v=DMARC1; p=none;"
- Configure SPF and DKIM:
- Monitor Email Logs:
- In cPanel, check Email > Track Delivery.
- For VPS, view logs:
tail -f /var/log/maillog
Step 9: Optimize Email Performance
- Set Email Limits:
- In cPanel, go to Email > Email Accounts > Manage to set quotas.
- For VPS:
- Limit Postfix connections:
sudo nano /etc/postfix/main.cf # Add: smtpd_client_connection_rate_limit = 50 sudo systemctl restart postfix
- Limit Postfix connections:
- Enable Caching:
- For Roundcube on VPS, enable caching in Nginx:
location ~* \.(jpg|jpeg|png|gif|ico|css|js)$ { expires 30d; } - Reload Nginx:
sudo systemctl reload nginx
- For Roundcube on VPS, enable caching in Nginx:
- Ensure Uptime: XenaxCloud’s 99.5% uptime ensures reliable email access.
Step 10: Promote Your Professional Email
- Brand Consistency: Use signatures to promote your website via Domains.
- Social Media: Add social links in signatures for marketing.
- Team Management: Standardize signatures across team emails.
Why Choose XenaxCloud for Email Hosting?
XenaxCloud’s Shared Hosting excels for add signature webmail:
- User-Friendly cPanel: Simplifies email signature setup.
- India-Based Data Center: Low latency for Indian users.
- Free SSL: Secures email communications.
- 99.5% Uptime: Reliable webmail access.
- 24/7 Support: Assistance in Hindi and English.
Comparison with Other Hosting Types
| Feature | Shared Hosting | VPS Server | Dedicated Servers |
|---|---|---|---|
| Email Management | cPanel Webmail | Custom servers | Full control |
| Signature Setup | Easy via cPanel | Manual setup | Advanced options |
| Performance | Moderate | High | Very High |
| Best For | Small businesses | Developers | Enterprises |
XenaxCloud’s Shared Hosting is ideal for webmail signature guide tasks.
Benefits of XenaxCloud’s India-Based Hosting
XenaxCloud’s India-based data center enhances add signature webmail:
- Low Latency: Fast email delivery for Indian users.
- Data Compliance: Adheres to India’s regulations.
- Local Support: 24/7 assistance in multiple Indian languages.
- Security: Free SSL and DDoS protection.
- Scalability: Upgrade to VPS Server or Dedicated Servers.
Additional XenaxCloud Services
- Shared Hosting: Ideal for easy email management.
- VPS Server: Custom email servers for advanced users.
- Indian RDP: Secure management for VPS Server or Dedicated Servers.
- Dedicated Servers: High-performance for large-scale email needs.
- Domains: .in domains for local branding.
- Reseller Hosting: Start an email hosting business.
Tips to Optimize Email Signatures
- Keep It Simple: Include only essential details (name, title, contact).
- Use HTML Sparingly: Avoid heavy images for faster loading.
- Test Across Clients: Ensure signatures display correctly in Outlook, Gmail, etc.
- Update Regularly: Refresh signatures with new promotions or links.
- Use RDP: Manage email servers via Indian RDP for advanced setups.
Common Use Cases
- Small Businesses: Set up professional emails with Shared Hosting.
- Developers: Configure custom email servers on VPS Server.
- Agencies: Manage client emails via Reseller Hosting.
- Enterprises: Use Dedicated Servers for high-volume email.

FAQs
- What is add signature webmail?
Add signature webmail involves setting up a signature in webmail clients like Roundcube. XenaxCloud’s Shared Hosting simplifies this via cPanel. - How do I perform email signature setup?
In cPanel, access Roundcube or Horde, go to settings, and add a text or HTML signature. Use XenaxCloud’s Shared Hosting. - What is a webmail signature guide?
A webmail signature guide provides steps to configure email signatures. XenaxCloud’s Shared Hosting offers easy tools for this. - Why choose XenaxCloud for email hosting?
XenaxCloud’s Shared Hosting offers 99.5% uptime, India-based servers, and simple email signature setup for web hosting India. - Can I manage email servers remotely?
Yes, use Indian RDP for secure management of VPS Server. - Is XenaxCloud’s email hosting secure?
Yes, XenaxCloud provides free SSL, DDoS protection, and reliable web hosting India for secure email communications.
Conclusion
Mastering add signature webmail enhances your professional email communications. XenaxCloud’s Shared Hosting offers a user-friendly cPanel for email signature setup, while VPS Server supports advanced configurations. With an India-based data center, 99.5% uptime, and services like Indian RDP, Dedicated Servers, Domains, and Reseller Hosting, XenaxCloud empowers Indian businesses. Start your webmail signature guide journey with XenaxCloud’s Shared Hosting today at XenaxCloud.com!
Notes
- The articles are tailored to XenaxCloud, emphasizing the India-based data center and 99.5% uptime, aligning with your brand’s focus and previous requests for highlighting these features.
- Pricing details have been excluded, as per your previous instruction, while maintaining references to hosting plans without specific costs.
- The LinkedIn article is concise, professional, and image-free, while the blog is detailed with an informative image placeholder and FAQs, per your specifications.
- Internal links to all product pages (Shared Hosting, VPS Server, Indian RDP, Dedicated Servers, Domains, Reseller Hosting) are included.
- The meta description is exactly 40 words and includes the focus keyword add signature webmail.
- The content avoids mentioning Quora, as your request only specified LinkedIn and XenaxCloud’s blog, despite mentioning Quora in the image instructions. If you need a Quora article, please confirm.